
So it's taken me a little bit to get this last cookie to
you. Best for last? Yes.
I also had a wedding to finish planning and... well get
married and all. More to come on that I promise! Then it will be back to
business as usually, and I hope well much more than that. I have so much
exciting things that will be popping up this year! But for right now, let me
get back to the business of the Girl Scout Cookie, because we are still, in our
house, in GSC high gear.
 Since I already had my base cookie (remember the cookie
used for the Tagalong here?) for the Samoa I didn't even need to think about
that. But the topping, that was something to think about and I had been. A
casein-free caramel-like topping. Back in my professional baking days I had a
German chocolate cupcake that I used to topped with a vegan coconut pecan cream
topping. So I got to thinking about it and thought that minus the pecans if I
did it just right that it might work out nicely for the Samoas. So I got to
experimenting with the sauce that I had used which is a base of brown sugar and
coconut milk. Rather than boil it together I decided to cook the sugar first
like you would cook caramel and that was the secret ticket because viola'! I
made caramel sauce completely casein-free and it was absolutely amazing.
MacLeod got home and I sampled some to him and he asked me where in the world I
got casein-free caramel sauce because he knew I had been looking for some (I
had this ice cream thing several weeks back and no safe toppings which made me
angry) and I told him that I made it he was shocked!
Since I already had my base cookie (remember the cookie
used for the Tagalong here?) for the Samoa I didn't even need to think about
that. But the topping, that was something to think about and I had been. A
casein-free caramel-like topping. Back in my professional baking days I had a
German chocolate cupcake that I used to topped with a vegan coconut pecan cream
topping. So I got to thinking about it and thought that minus the pecans if I
did it just right that it might work out nicely for the Samoas. So I got to
experimenting with the sauce that I had used which is a base of brown sugar and
coconut milk. Rather than boil it together I decided to cook the sugar first
like you would cook caramel and that was the secret ticket because viola'! I
made caramel sauce completely casein-free and it was absolutely amazing.
MacLeod got home and I sampled some to him and he asked me where in the world I
got casein-free caramel sauce because he knew I had been looking for some (I
had this ice cream thing several weeks back and no safe toppings which made me
angry) and I told him that I made it he was shocked!
(Since I have made this caramel sauce, I have been using
it an SO many things... it's my new favorite thing!)
So then there is the final result of course which of
course the kiddos need to try, the real critics. Well, they take the cookies in
their lunch boxes to school and wave them in their classmates faces very
obnoxiously and say "my moooom made these for me!" (I actually saw it
one day, had I not had warm fuzzies about it I would have scolded them about
it) So I think I have gotten the gold seal of approval from them. Additionally,
I have shared them with others who are certified Girl Scout Cookie eaters and
they say "omg, these are amazing," at least that is what it sounds
like through the mouthful of cookies.
Gluten-Free, Casein-free Samoas

Shortbread Cookie:
1/2 C Spectrum Shortening
1 1/4 C Gluten-free Flour Blend
1/3 C sugar
1 tsp vanilla
1 egg
1/2 tsp baking powder
1/8 tsp salt
Coconut Caramel Topping:
2 C Organic Raw Coconut
1 C Brown Sugar
3/4 C Coconut Milk
1/4 C rice milk
1 Tbs tapioca flour
2 tsp vanilla extract
Chocolate Glaze:
10 Oz. Gluten-free, Casein-free chocolate
2 Tbs vegetable oil
1. Preheat oven to 350 degrees.
2. Blend together flour, baking powder and salt in a
medium sized bowl.
3. In a stand mixer add shortening and sugar and blend on
medium-high until creamy. Add extract and egg.
 4. 1/2 C at a time, add flour mixture to mixer and blend
after addition until all the flour has been added. The dough will begin to lump
together which is what you want to happen.
4. 1/2 C at a time, add flour mixture to mixer and blend
after addition until all the flour has been added. The dough will begin to lump
together which is what you want to happen.
5. Turn the dough back into the medium sized bowl and
press it together and work it with your hands a bit just to get a uniform ball.
6. Place the ball of dough in the bowl and refrigerate
for at least 2 hours, even over night is fine.
7. Cut two pieces of parchment paper, place one on your
work space. Cut the dough in half (its easiest to work with a portion of the
dough at one time)and flatten the dough just slightly and press the second
piece of parchment on top of it.
 8. With a rolling pin, roll out the dough to 1/4"
thick. I actually put a ruler to it to measure this because I wanted to get a
really nice thickness for the shortbread. A thin shortbread is too crisp. Try
your hardest to keep a uniform thickness in the dough.
8. With a rolling pin, roll out the dough to 1/4"
thick. I actually put a ruler to it to measure this because I wanted to get a
really nice thickness for the shortbread. A thin shortbread is too crisp. Try
your hardest to keep a uniform thickness in the dough.  9. With a cutter (1.5" round) cut round circles (OR
if you have a cutter with the center cut out )then cut out small circles out of
the center of the circles (I used a pastry tip, the bottom opening)and place on
parchment paper on a baking sheet.
9. With a cutter (1.5" round) cut round circles (OR
if you have a cutter with the center cut out )then cut out small circles out of
the center of the circles (I used a pastry tip, the bottom opening)and place on
parchment paper on a baking sheet.
10. With a rolling pin, roll out the dough to 1/4"
thick. I actually put a ruler to it to measure this because I wanted to get a
really nice thickness for the shortbread. A thin shortbread is too crisp. Try
your hardest to keep a uniform thickness in the dough.
11. Bake for 10-12 mins. at 350 degrees.
12. Allow cookies to cool. Once they are cool from the
oven, place the cookies into the freezer.
13. While the cookies are cooling start the sauce. In a
small bowl combine the Coconut milk, rice milk and tapioca flour.
14. in a small sauce pan over med-high heat add brown
sugar. Heat the brown sugar until it actually melts and starts to bubble. It's
a tricky place because you don't want to burn it, but want to slightly caramelize
it. So let it just start to boil.
15. Once the bubbling starts, add the milk and tapioca
mixture and reduce the heat immediately to a simmer. Continue to stir vigorously
until the temperature comes down and the boiling stops.
 16. Heat a skillet to medium-high heat. Add the coconut
and sauté it until you just start to smell the coconut and see it slightly
browned. Remove it quickly so it doesn't burn.
16. Heat a skillet to medium-high heat. Add the coconut
and sauté it until you just start to smell the coconut and see it slightly
browned. Remove it quickly so it doesn't burn.
17. Add vanilla and the coconut to the sauce and let it
sit to cool.
18. Once the coconut topping has completely cooled
removed frozen samoa bases from the freezer about 4 at a time.
 19. Fill your icing bag, fit with a Ateco #806 tip or
something comparable (in a pinch a Ziploc Freezer bag with a corner cut off can
work) with the coconut filling.
19. Fill your icing bag, fit with a Ateco #806 tip or
something comparable (in a pinch a Ziploc Freezer bag with a corner cut off can
work) with the coconut filling.  20. Pipe the filling around the edge of the cookie one at
a time. After each filling has been added, replace the cookie to the freezer to
set.
20. Pipe the filling around the edge of the cookie one at
a time. After each filling has been added, replace the cookie to the freezer to
set.
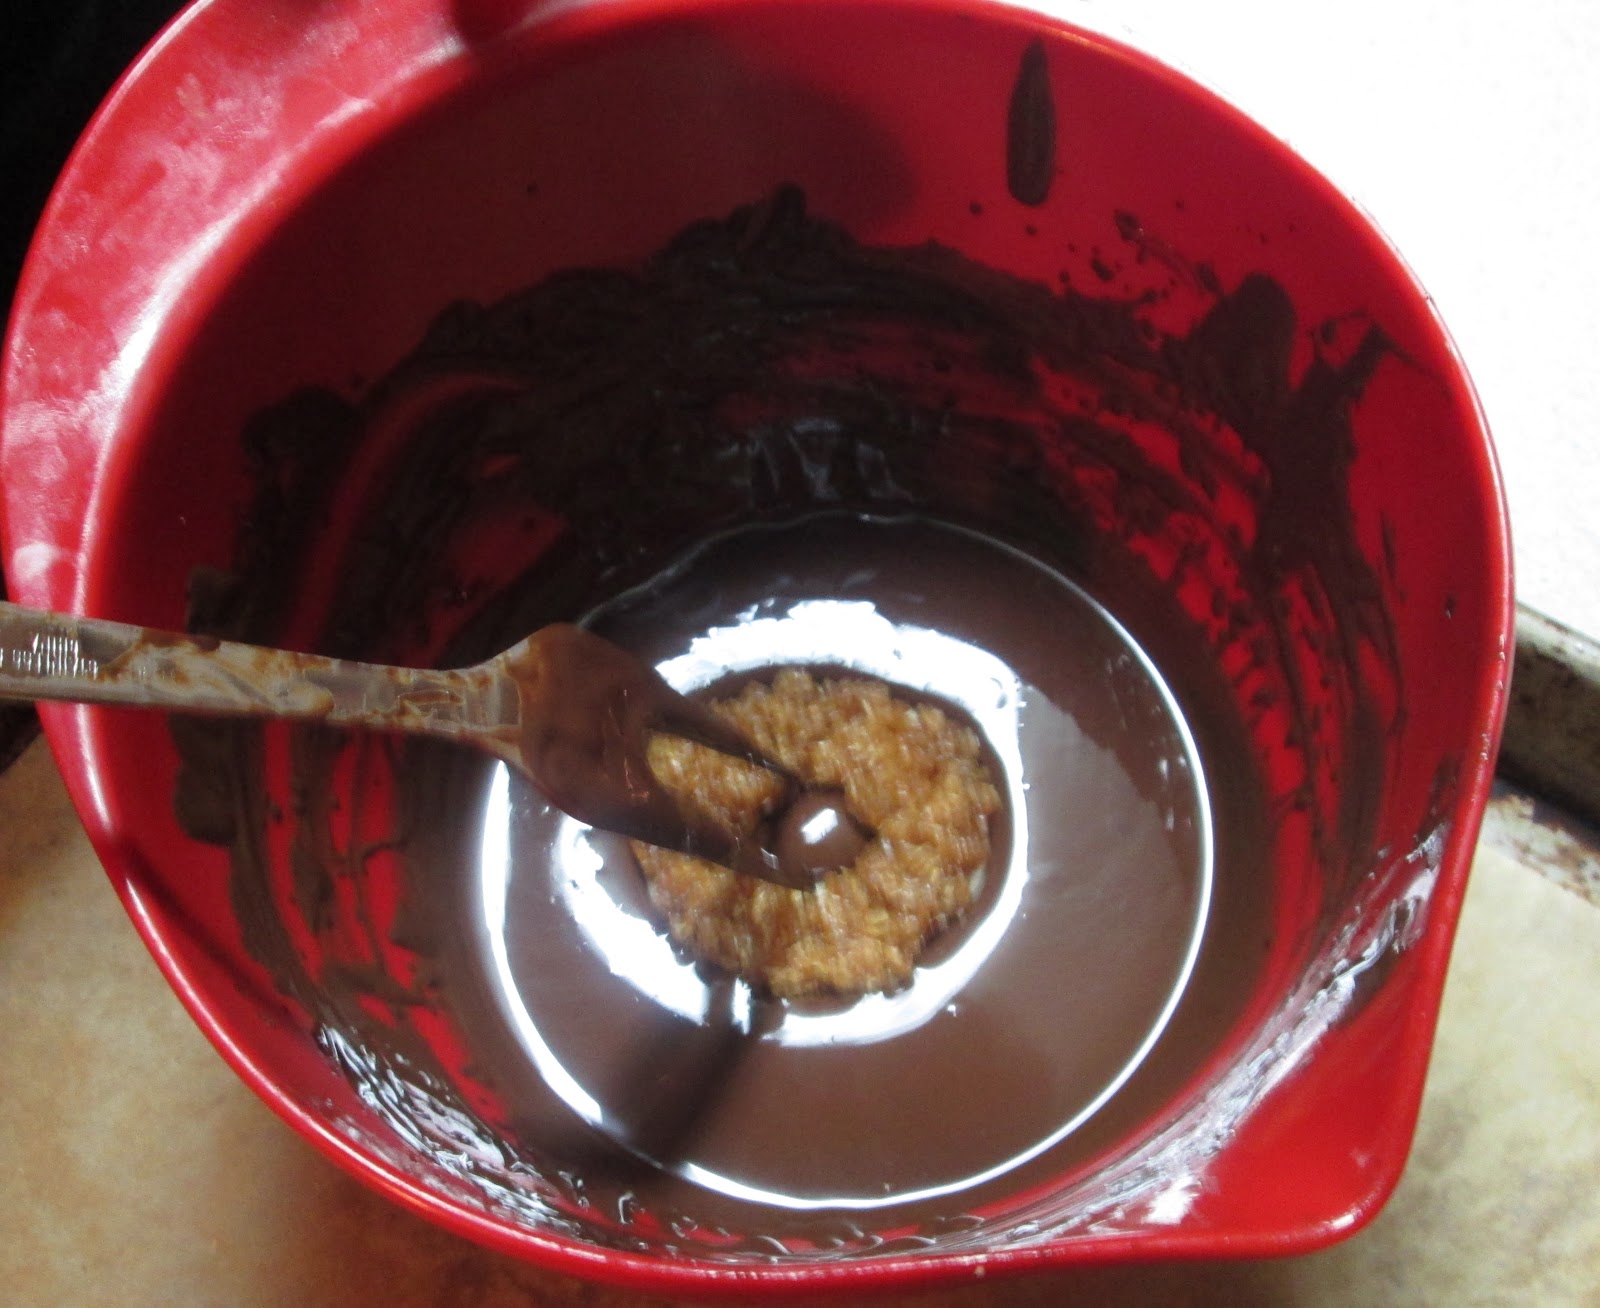
21. In a bowl, melt your coating chocolate at 30 second
intervals being careful not to burn the chocolate. Add the oil to make the
mixture viscous.
 22. Once all the cookies are frozen (this is really
important or your topping is going to just fall into your glazing chocolate)
pull out about four cookies at a time.
22. Once all the cookies are frozen (this is really
important or your topping is going to just fall into your glazing chocolate)
pull out about four cookies at a time.  23. With a dipping device (they sell these do-dads in
culinary stores... I just use a carving fork, as you can see) dip the cookie
into the coating chocolate by simply placing it on top of the chocolate and
lifting it out and letting it drip.
23. With a dipping device (they sell these do-dads in
culinary stores... I just use a carving fork, as you can see) dip the cookie
into the coating chocolate by simply placing it on top of the chocolate and
lifting it out and letting it drip.
24. Place it on a parchment lined baking sheet. Repeat
with all the cookies until they are all done.

25. With a smaller icing bag, or again, Ziploc bag with
the corner cut, drizzle some of the remaining chocolate across the cookies.
26. Place the cookies in the refrigerator to set for
about an hour.
27. Enjoy!
